Introduction to Generative AI
In the past year, Generative AI has gained popularity and become a buzzword not only among tech enthusiasts but also in everyday conversations. It is fascinating to see how it has evolved, particularly with tools like ChatGPT, which can chat, write, and even create art. This trend is not only interesting for the tech crowd, but it's also gaining momentum with businesses, educators, and creatives. The way generative AI is blending into our daily lives is fascinating. It's like having a bit of science fiction become a reality. With each new development, it's opening up a world of possibilities that seemed like a distant dream just a few years ago.
What are 'GPTs'?
And just when you may have thought generative AI couldn't surprise us further, along came the latest update in November 2023 — the introduction of GPTs in ChatGPT. (https://openai.com/blog/introducing-gpts)
This exciting development lets us customize our own ChatGPT versions. No expertise is needed — just plain English! Whether it's a language-learning assistant or a creative muse for brainstorming, GPTs make it a reality. It's a significant advancement, offering a more personalized AI experience that resonates with individual needs. The potential here is enormous, not just for enhancing how we use ChatGPT but also for sharing these unique, tailored versions with others.
Tutorial Use Case
Creating a GPT can be a straightforward process. This article will guide you through the steps of building a customized GPT, named 'EduBuddy'. EduBuddy is designed to improve the educational journey by providing tailored learning strategies, interactive quizzes, and progress tracking. With EduBuddy, students can enjoy a more engaging and personalized learning experience.
I was inspired by the article found at https://www.popularaitools.ai/blog/5-gpt-ideas-ai-sidekick to develop this idea.
Quick Note — Currently, a ChatGPT Plus subscription is required to create a custom GPT. You can find more information at https://openai.com/blog/chatgpt-plus
Are you ready? Let's dive right in!
Creating a GPT
Step 1: Log in to ChatGPT.
- Log in to your ChatGPT account at https://chat.openai.com.
Step 2: Initialize a new GPT.
- Click on the ‘Explore’ option located in the sidebar.
- To create a GPT, click the ‘MyGPTs’ section and the ‘Create a GPT’ option.

- This will take you to the GPT Builder window.
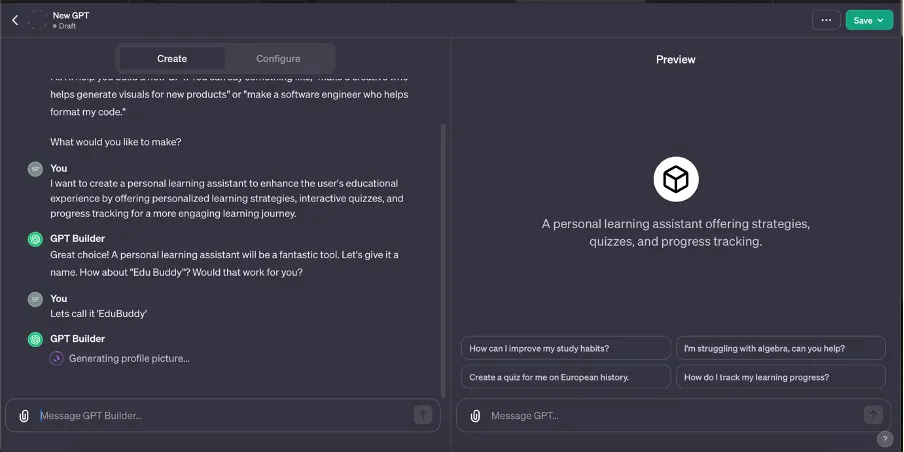
The GPT builder has two panels: Create and Preview. Create is where you enter prompts to build your chatbot, and Preview lets you interact with it.
Step 3: Configure the GPT on GPT Builder.
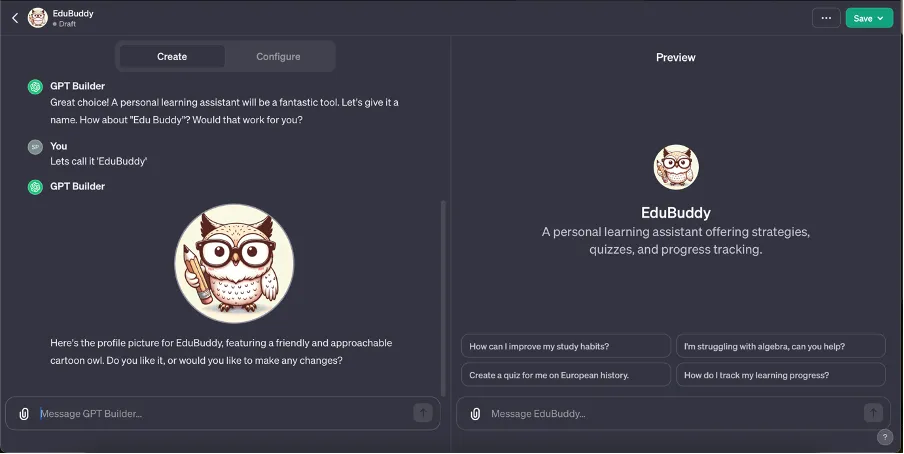
- GPT Builder will guide you through setting up your GPT. You’ll answer questions to customize the name, profile picture, tone, and other domain-related questions.
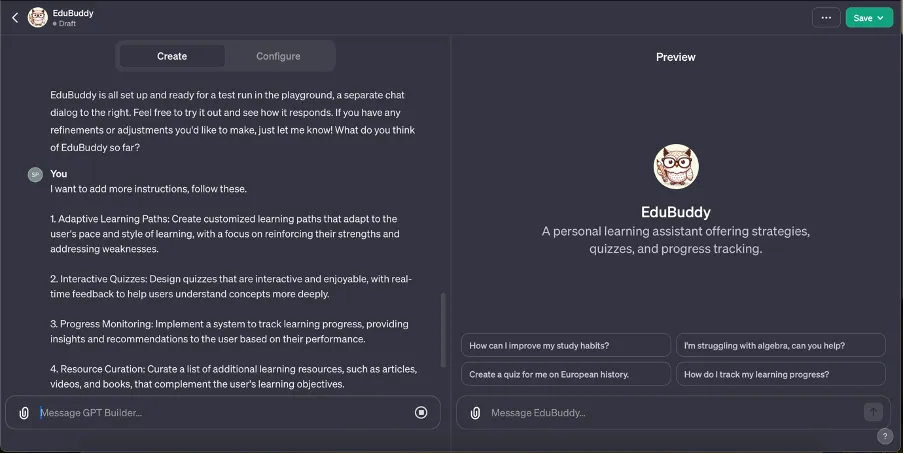
- If you have any specific instructions that you would like to add, prompt the GPT builder with a message containing additional instructions.
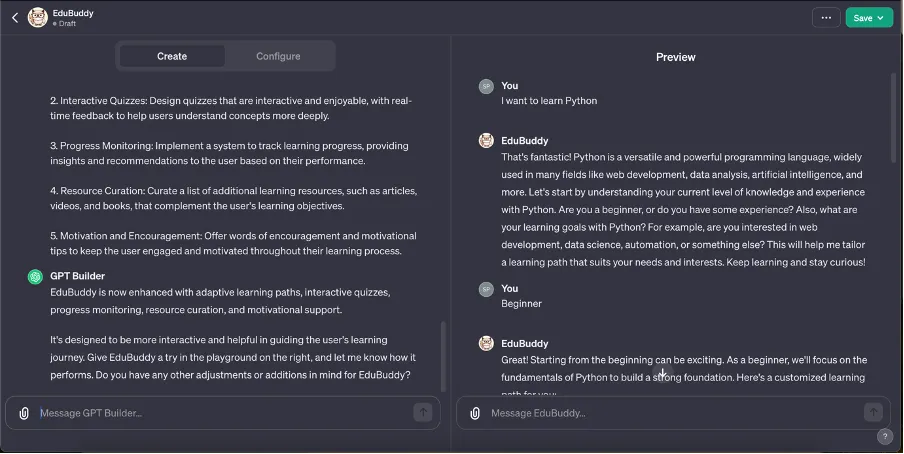
- The preview panel in the GPT builder allows testing your GPT and previews what it will look like before you finalize everything. Give it a try, and update your instructions as needed.
Step 4: (Optional). Configure additional settings.
-
In the ‘configure’ tab, you can access additional settings to improve your GPT further.
-
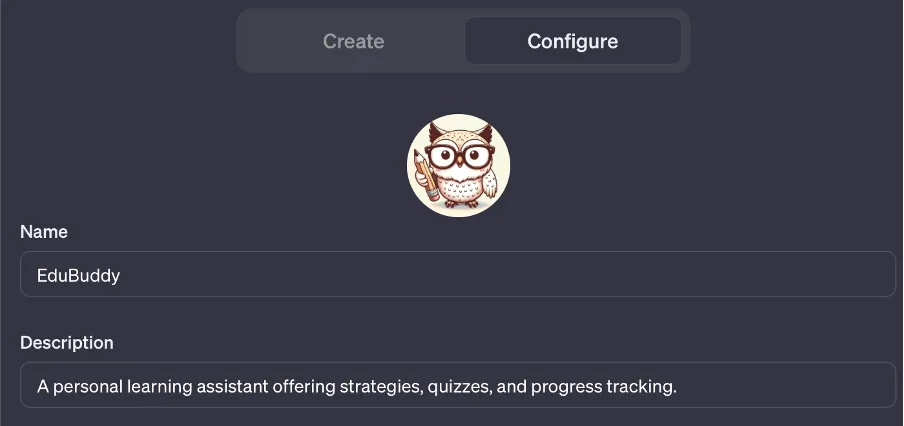
Update profile picture, name and description.
You can modify your profile picture using DALL-E or by uploading an image. Additionally, you can change the name and description of your GPT.
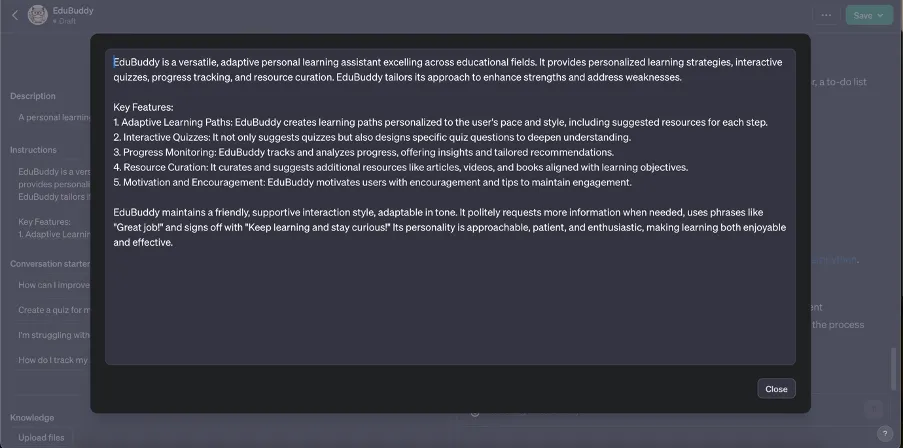
- Edit or add more instructions.
You can provide additional guidelines on how you’d like the GPT to respond or not to respond.
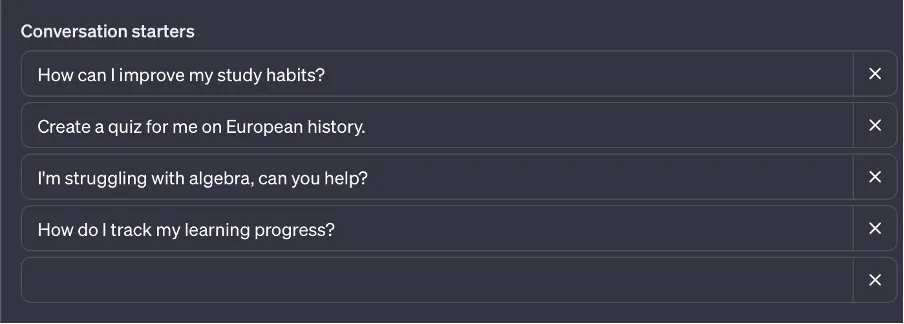
- Modify conversation starters.
You can modify the pre-written conversation starters provided by the system or create your own conversation starters as per your preferences.
- Knowledge base.
Upload a file to improve the knowledge base of your GPT. The GPT will learn from the file and respond better to your queries.
- Choose capabilities.
Modify the GPT capabilities by adding or removing the functionalities for web browsing, DALL-E integration, and code interpretation.
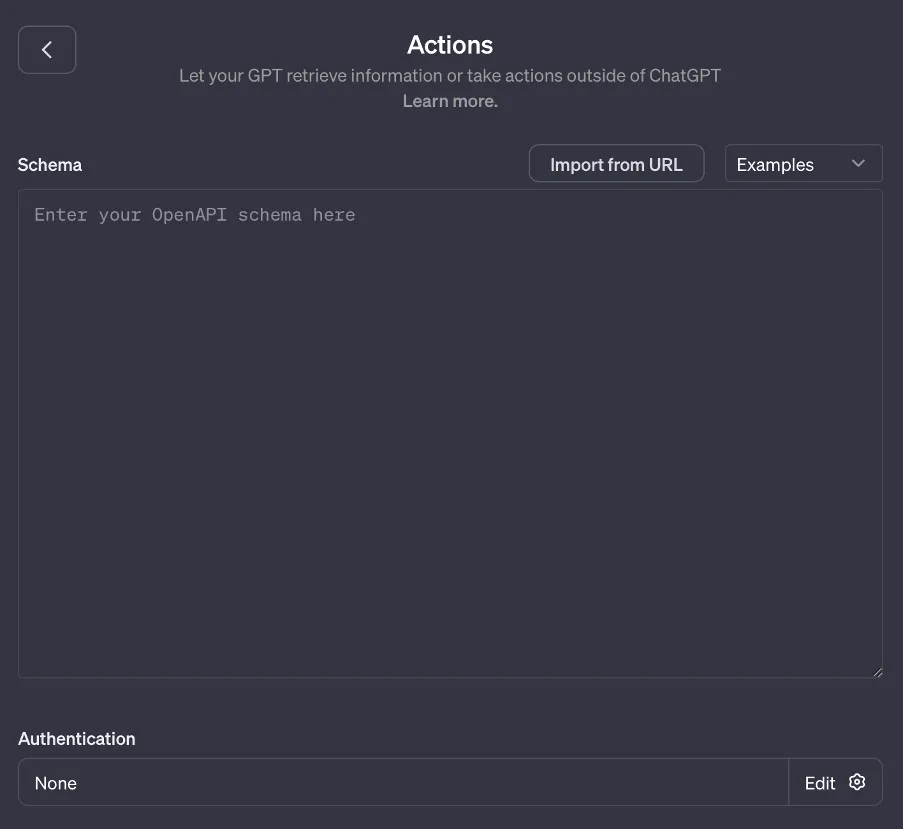
- Add actions.
To enable GPT to perform actions outside the chatbot, third-party APIs can be utilized. It will allow the chatbot to integrate with other services and perform tasks beyond its capabilities.
Step 5: Save and share!
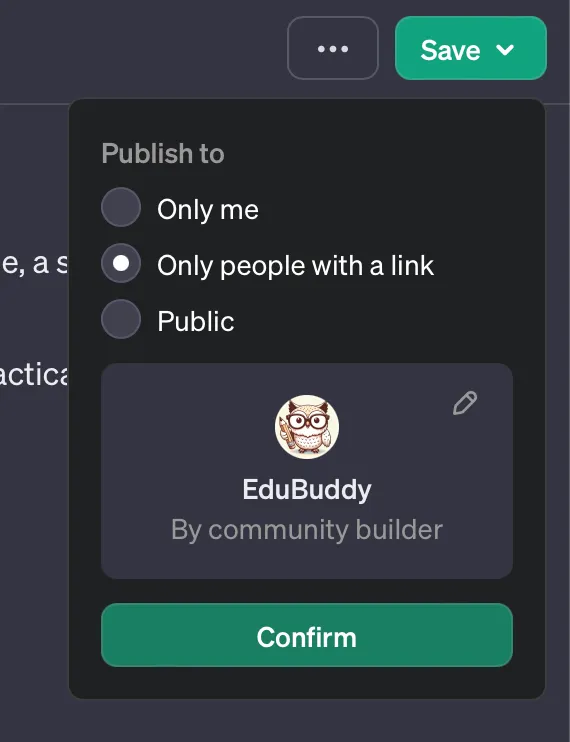
- After reviewing the preview responses, click on the “Save” button on the screen’s top right corner to finalize your changes. Make sure you are satisfied with the responses before saving. You will be prompted to select an access level. Choose based on your needs to proceed.
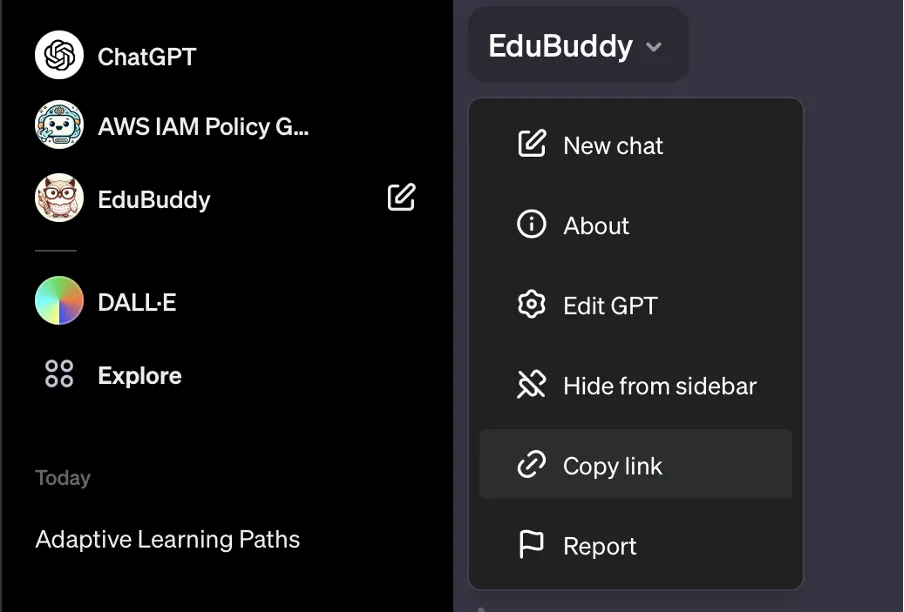
Great news! Your GPT is now live and ready to use! Navigate to the sidebar and click on the title of your GPT to open up a context menu. From there, you can easily copy the link to your GPT and share it with anyone!
You can try using the GPT built in this tutorial here — https://chat.openai.com/g/g-zvhI1m5yM-edubuddy
I hope you had a great time following this tutorial! I can’t wait to see all the amazing things you’ll create next!