2 posts tagged with "deploy"

View All Tags

· 2 min read
Saurav Gopinath Panda

In the ever-evolving landscape of technology, the integration of machine learning models into web services has become increasingly popular. One such integration involves OpenAI's Whisper, an automatic speech recognition system, deployed as an API using Flask, a lightweight Python web framework. This blog post will guide you through setting up a Whisper API service and implementing basic analytics to monitor its usage.

Introduction to Whisper and Flask

Whisper, developed by OpenAI, is a powerful tool for transcribing audio. When combined with Flask, a versatile and easy-to-use web framework, it becomes accessible as an API, allowing users to transcribe audio files through simple HTTP requests.

Setting Up the Environment

Before diving into the code, ensure you have Python installed on your system along with Flask and Whisper. You'll also need FFmpeg for audio processing. Installation instructions for these dependencies vary based on your operating system, so refer to the respective documentation for guidance.

You can find all the code here: https://github.com/sauravpanda/whisper-service

Crafting the API with Flask

The core of our service is a Flask application. Flask excels in creating RESTful APIs with minimal setup. Our application will have two primary endpoints:

/transcribe: Accepts audio files and returns their transcriptions.

The /transcribe endpoint handles the core functionality. It receives an audio file, processes it using Whisper, and returns the transcription. Error handling is crucial here to manage files that are either corrupt or in an unsupported format.

Running and Testing the API

With the Flask application ready, running it is as simple as executing the script. You can test the API using tools like curl or Postman by sending POST requests to the /transcribe endpoint with an audio file.

Conclusion

Deploying Whisper with Flask offers a glimpse into the potential of integrating advanced machine learning models into web services. While our setup is relatively basic, it lays the groundwork for more sophisticated applications to run locally on your systems.
· 3 min read
Saurav Gopinath Panda

The world of cloud computing is constantly changing, and automation is an essential component in making infrastructure management more efficient and less prone to errors. By combining AWS Lambda, a serverless computing service, with the power of Terraform, an open-source infrastructure as a code software tool, you can significantly simplify this process. In this blog post, we'll explore a Python script that is designed to automate Terraform plan applications using AWS Lambda.

Understanding the Code

The Python script we're discussing is structured to run within an AWS Lambda environment. It's designed to trigger Terraform plans stored in an AWS S3 bucket, making infrastructure changes both automated and easily manageable.

The script starts by defining the path to the Terraform executable. Currently, we have a terraform binary executable (1.5.7) downloaded for amd64.

Set Up

To get started, clone the repository at https://github.com/Cloud-Code-AI/terra-lambda. Once you've done that, run bash build.sh to create a zip file for the lambda function. This file will be named 'terra_lambda.zip'.

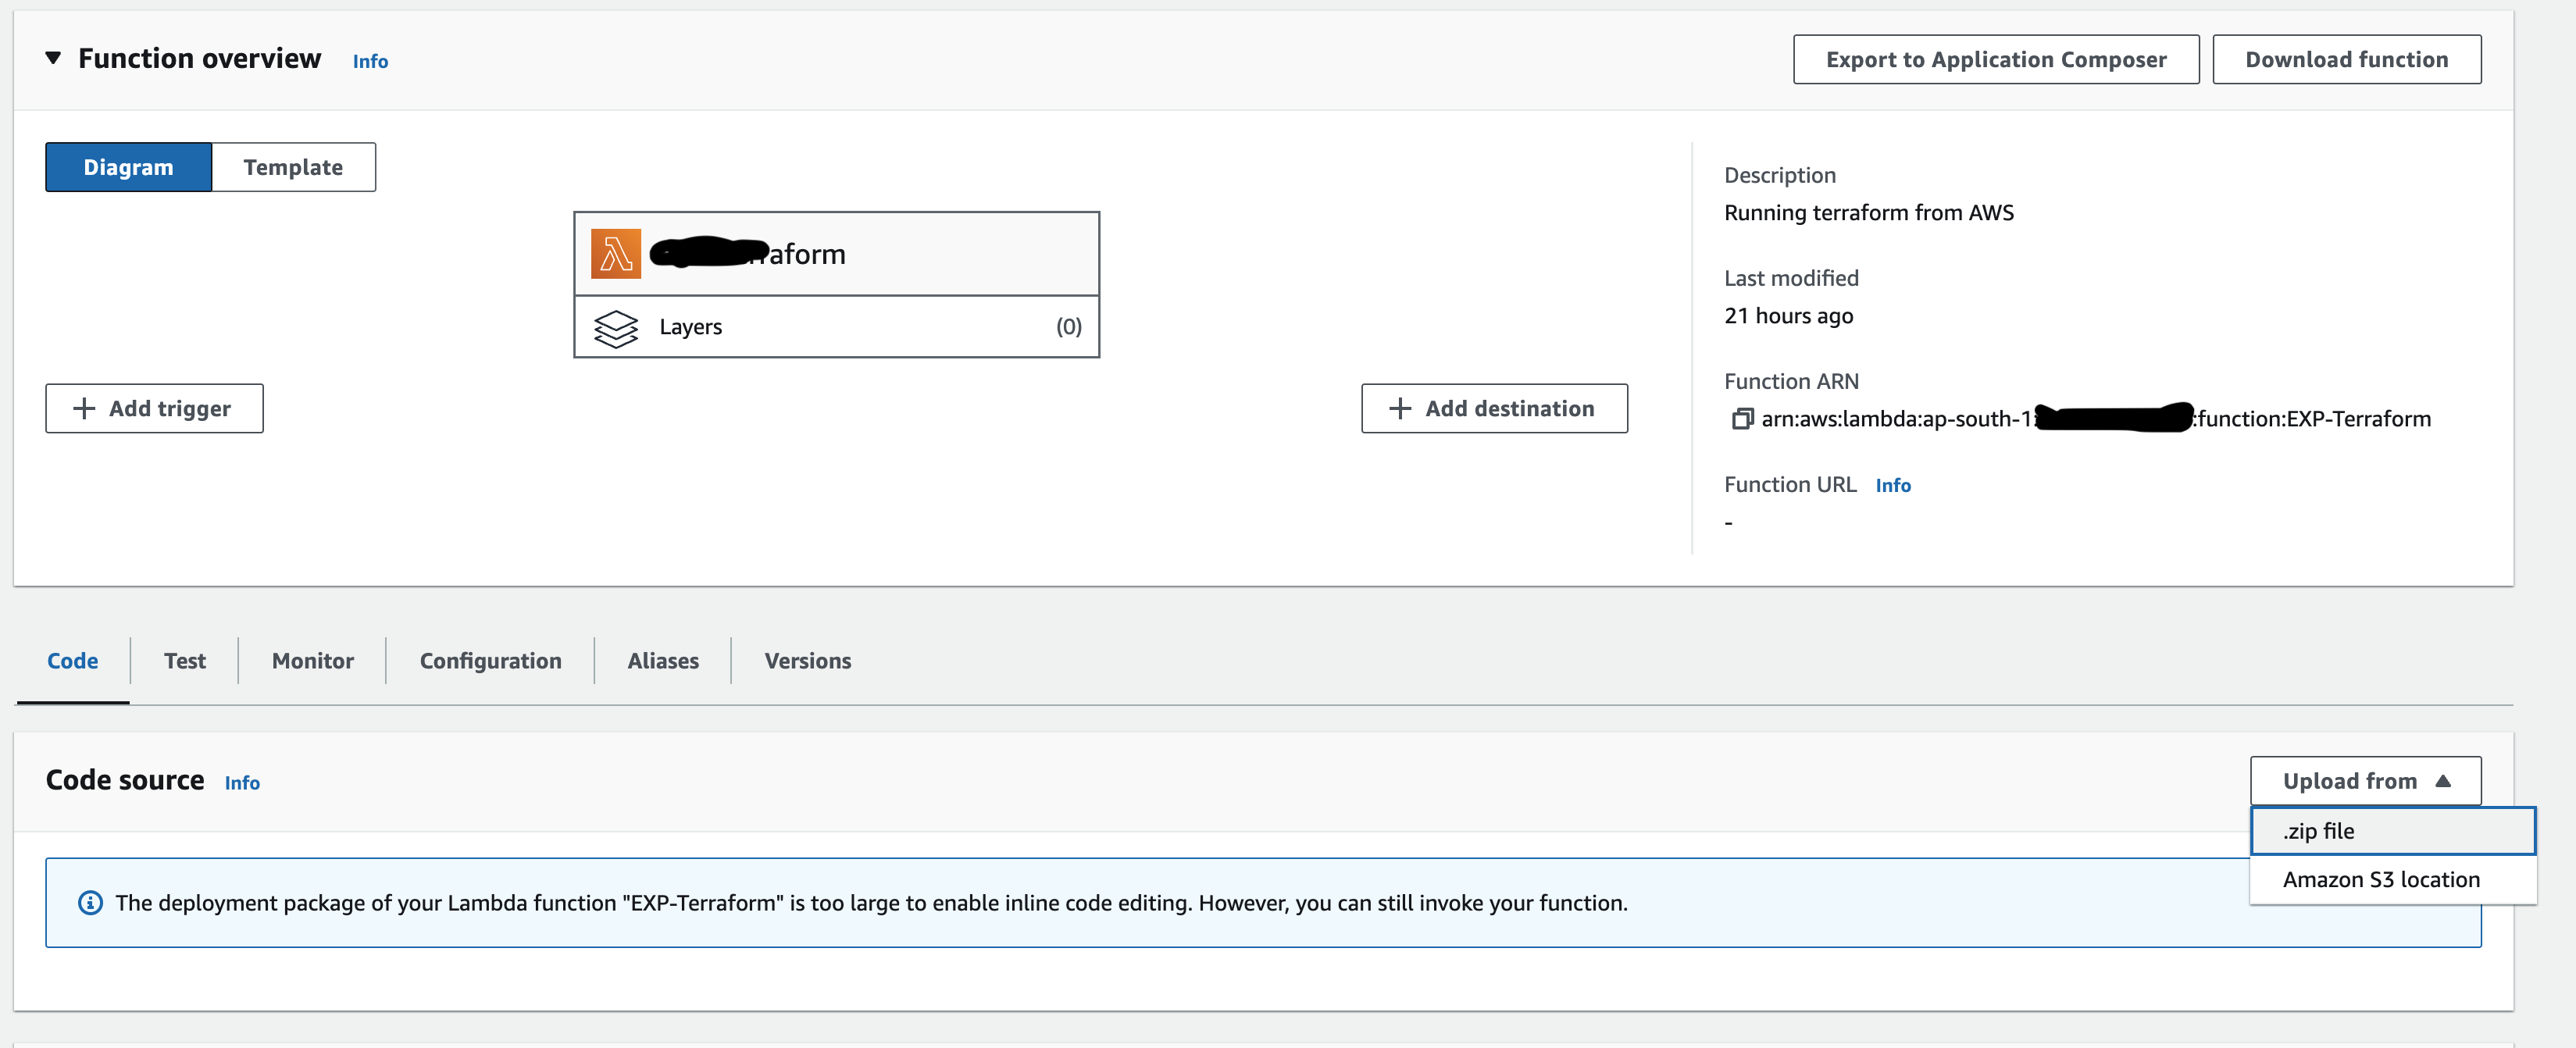
Next, head over to the AWS Console and create a lambda function with amd64. Upload the zip file via the console.

Upload Lambda Zip

In the Configuration page, set the memory to 512 MB and timeout to 15 minutes (as the build time varies depending on your system).

Update Lambda Config

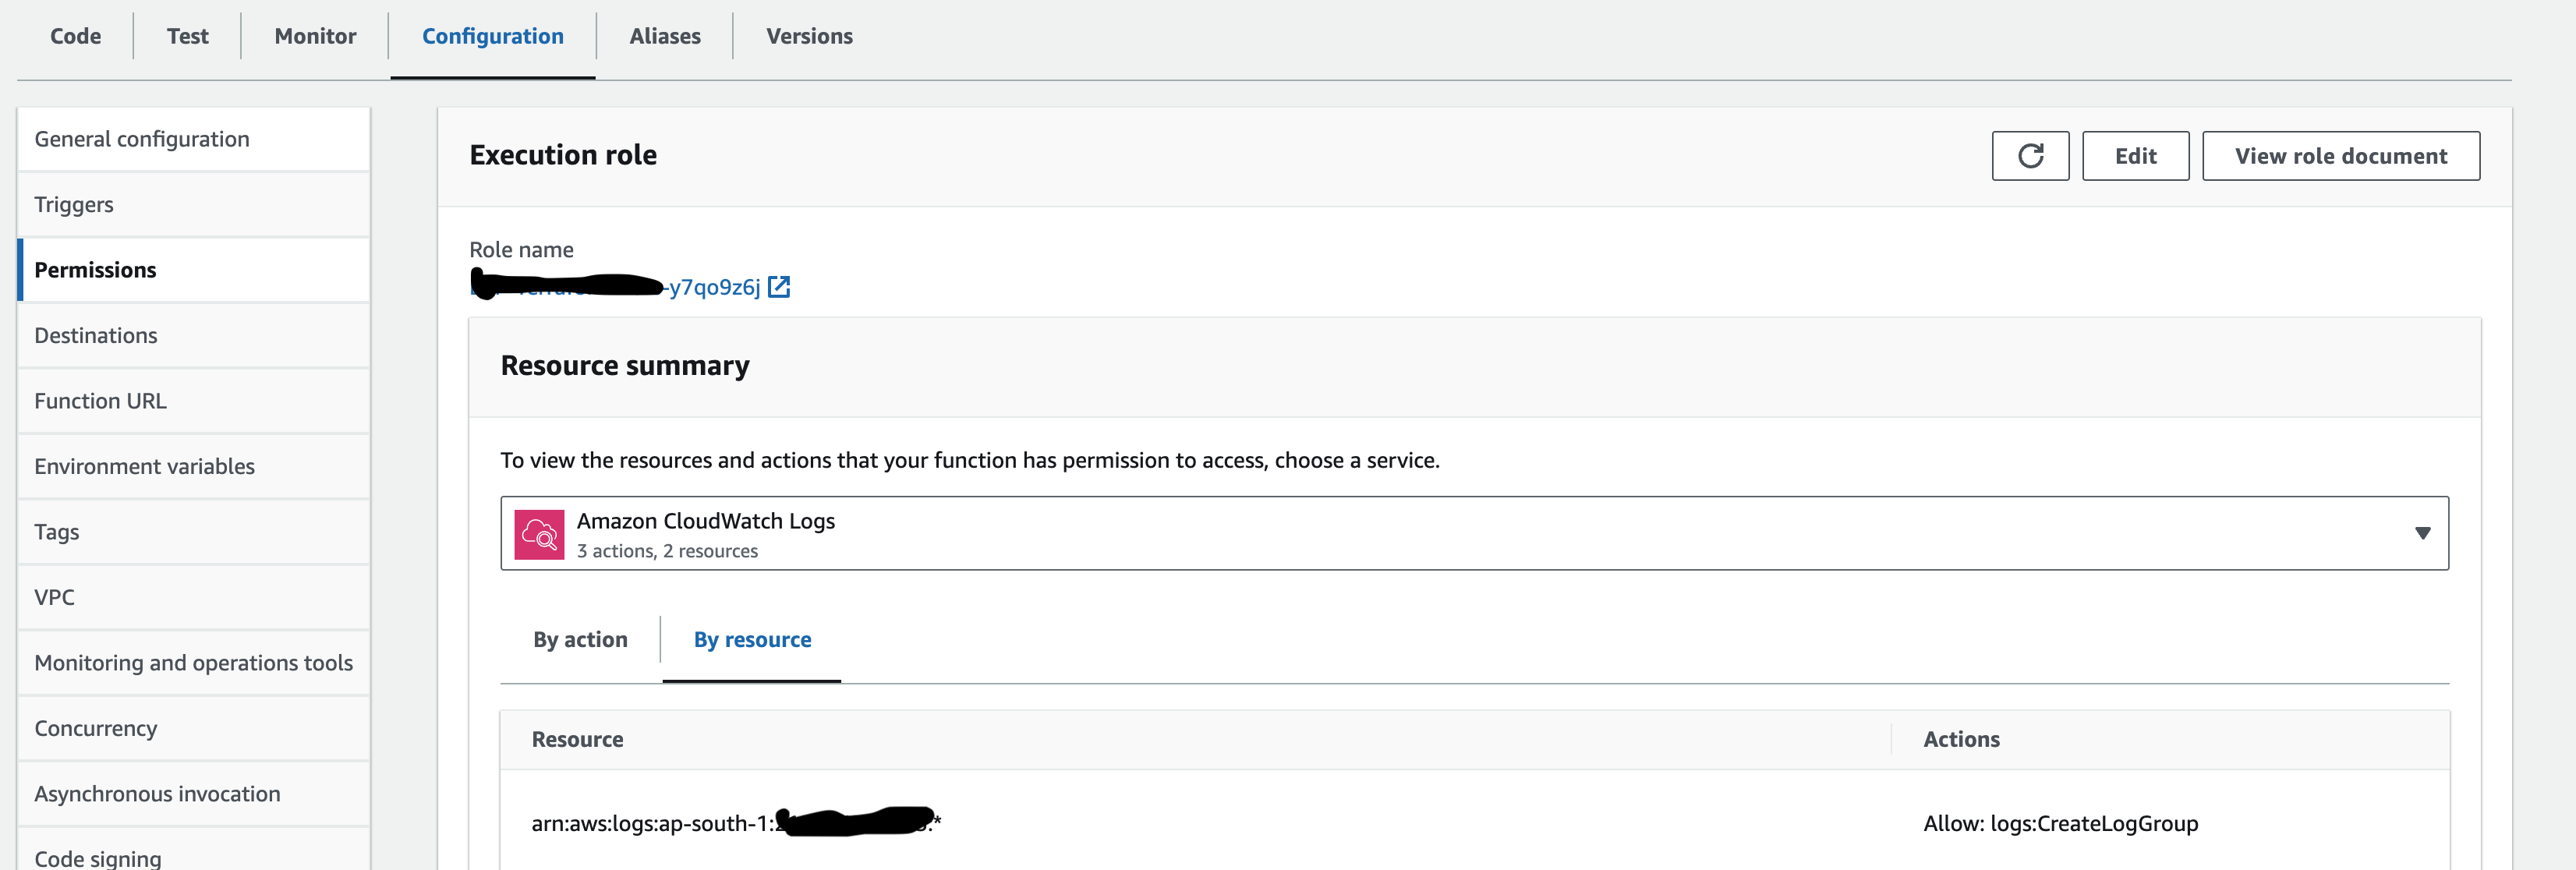
Once that's done, update the lambda function's role and add a new inline IAM policy. You can find this policy in the 'iam_policy.json' file.

Update Lambda IAM

That's it! You're now ready to use the lambda function to run terraform executions.

The Process

When the Lambda function is triggered, it follows these steps:

  1. Extracts Event Data: It reads the S3 bucket name and the Terraform file path from the event.

  2. Downloads the Terraform File: The specified Terraform file is downloaded from the S3 bucket.

  3. Executes Terraform Commands: It initializes and applies the Terraform plan using the run_command function.

  4. Handles Responses: Finally, it returns a response indicating the success or failure of the operation.

Use Cases

This automation script is particularly useful in scenarios such as:

  • Continuous Deployment: Automatically apply infrastructure changes as part of a CI/CD pipeline.
  • Scheduled Infrastructure Updates: Use AWS CloudWatch Events to trigger this Lambda function on a schedule.
  • Event-Driven Infrastructure Changes: Trigger infrastructure modifications in response to specific AWS events.

Advantages

  • Scalability: AWS Lambda can handle varying loads, making this solution scalable.
  • Cost-Effective: You pay only for the compute time you consume.
  • Reduced Human Error: Automating the Terraform execution process minimizes the chances of manual errors.

Security Considerations

  • Ensure the Lambda function has minimal and necessary permissions (principle of least privilege).
  • Secure your S3 buckets to prevent unauthorized access to your Terraform files.

Conclusion

Integrating AWS Lambda with Terraform offers a powerful way to manage your cloud infrastructure. By automating Terraform plan applications, you can achieve more reliable, efficient, and error-free infrastructure deployments. This Python script is a step towards embracing the future of cloud infrastructure management, where automation is key.


Would you be interested in more content like this? Stay tuned to our blog (https://cloudcode.ai/blogs/) for the latest in cloud computing and automation strategies.